First Create Map In Google My Maps
- Navigate to Google Maps.
- Input the operation's address into the search bar.
- Use the drawing tool to create a region. The region must be drawn as a closed shape.
- Select the menu tool on the layer for your map.
- Export the layer to KML.
- In the modal, select the correct layer and click the checkbox next to, "Export as KML instead of KMZ. Does not support all icons."
- Hit Download.
Below is a screenshot demonstrating what a correct delivery zone would look like when creating in Google Maps.

In GoTab, on the Zones Dashboard
- Hit Zones
- Click Delivery
- You will need to create a zone just like you did in the previous lessons.
- Once you create your zone, press "Define Delivery Zone"
- Click upload a .kml file to create your delivery map in GoTab.
Define Delivery Zone
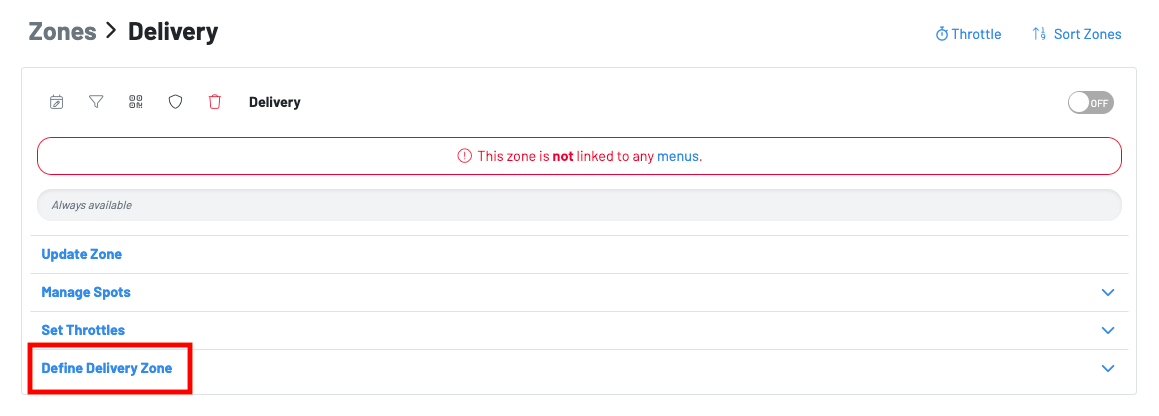
Upload a .kml file

Notes:
-You can only save one zone per map (so not multiple shapes/zones within one KML file).
-Type needs to be a single Polygon. If you see anything about Linestring etc. within the KML file, it's not a singular closed Polygon shape and you will not be able to upload the file.
Below shows what it looks like in the GoTab Manager Dashboard when a delivery map has been uploaded to your delivery zone(s).
